How to Apply DTF Transfers at Home — Step by Step Guide
Master applying DTF transfers at home with this step-by-step guide from Flash Custom Transfers. Learn expert tips for perfect results. Get free shipping on all orders!
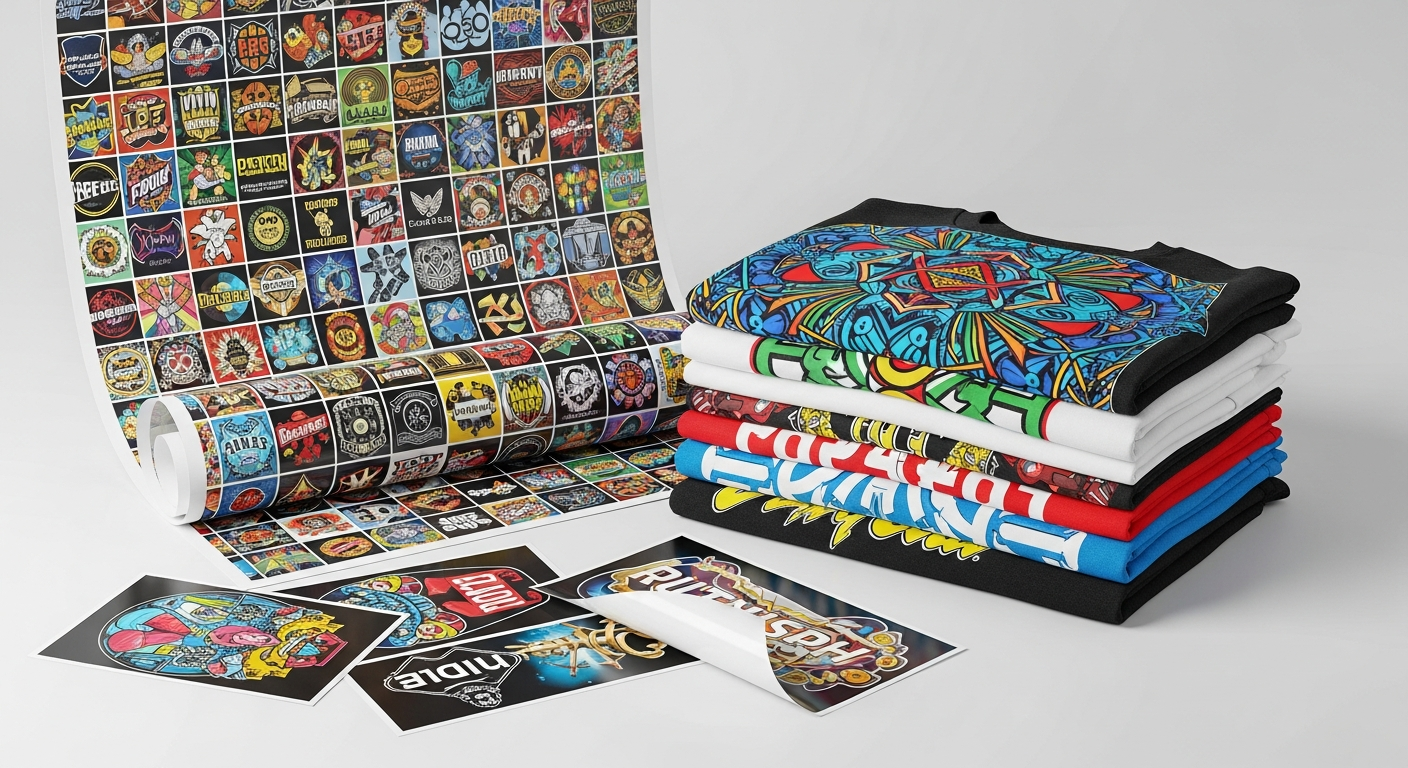
# How to Apply DTF Transfers at Home — Step by Step GuideFlash Custom Transfers is your go-to source for high-quality DTF and UVDTF transfers, and we’re here to empower your creativity. Have you ever dreamed of creating custom apparel with vibrant, durable designs right from your home? Direct-to-Film (DTF) transfers make that dream a reality! Whether you’re customizing t-shirts, hoodies, bags, or other fabric items, DTF transfers offer professional-grade results with a relatively simple application process.The best part? At Flash Custom Transfers, we make it even easier with high-quality custom [DTF Transfers](https://flashcustomtransfers.com/collections/dtf-transfers) and **FREE shipping on all orders with no minimum!** This guide will walk you through everything you need to know to apply DTF transfers perfectly, every time. Let's get started!## What Exactly Are DTF Transfers?Direct-to-Film (DTF) transfers are a revolutionary printing technology where designs are printed onto a special film, then transferred to fabric using heat and pressure. Unlike traditional vinyl or screen printing, DTF offers incredible versatility, vibrant colors, soft hand feel, and exceptional durability, making it suitable for a wide range of fabrics including cotton, polyester, blends, and more. They arrive ready to press, requiring no weeding or intricate setup on your end—just pure transfer magic!## Gather Your Essential ToolsBefore you begin, ensure you have all the necessary equipment to guarantee a smooth and successful application. Having everything at hand will make the process much more efficient and enjoyable.### What You'll Need:1. **DTF Transfer**: Your custom design, expertly printed by Flash Custom Transfers.2. **Heat Press**: This is crucial! While some attempt to use irons, a heat press provides consistent heat and pressure, which is essential for proper adhesion and durability. Uneven heat can lead to an incomplete or weak transfer.3. **Garment**: The item you wish to customize (t-shirt, hoodie, tote bag, etc.).4. **Parchment Paper or Teflon Sheet**: To protect your heat press platen and the transfer during the final press. Do *not* use a baking sheet.5. **Heat-Resistant Tape (Optional)**: Can help hold the transfer in place, especially for larger designs or tricky placements.6. **Lint Roller**: To ensure your garment is free of any debris.7. **Flat, Heat-Resistant Surface**: For cooling your garment post-press.## Step-by-Step Guide to Applying Your DTF TransferFollow these steps closely for a professional-quality application that will make your custom creations stand out.### Step 1: Prepare Your GarmentFirst impressions matter, and that includes preparing your fabric. Using a lint roller, remove any dust, lint, or pet hair from your garment. Then, pre-press your garment on your heat press for 5-10 seconds at your chosen temperature (typically 300-320°F or 150-160°C). This step is vital as it removes any moisture, wrinkles, and pre-shrinks the fabric slightly, creating a perfectly smooth surface for your transfer.### Step 2: Position Your DTF TransferCarefully place your DTF transfer onto your pre-pressed garment. Take your time to ensure it’s centered, straight, and exactly where you want it. If desired, use heat-resistant tape to secure the edges, especially for intricate designs or if you’re concerned about movement when closing the heat press.### Step 3: Apply Heat and PressureNow for the main event!* **Temperature**: Set your heat press to **300-320°F (150-160°C)**. Always check the specific recommendations from your transfer supplier, but this range is standard for Flash Custom Transfers.* **Time**: Press for **10-15 seconds**.* **Pressure**: Apply **medium to firm pressure**. You should feel a decent amount of resistance when closing the heat press.Too little pressure can result in an incomplete transfer, while too much can sometimes distort the design or squeeze the adhesive out.### Step 4: The *Crucial* Cool PeelThis is arguably the most important step for DTF transfers! Unlike hot or warm peel transfers, DTF designs *must* be peeled when they are cool.Remove the garment from the heat press and allow the transfer to cool completely. This usually takes a few minutes. Once cool to the touch, gently but firmly peel the film backing away from the design. Start from one corner and pull at a consistent, even angle.If you notice any part of the design lifting or not adhering, stop peeling, lay the film back down, and press again for 5-10 seconds, ensuring it cools completely before attempting to peel again.### Step 5: The Final Press (Optional but Recommended)Once you've successfully peeled the film, it's a great practice to give your design a final press.Place a piece of parchment paper or a Teflon sheet directly over the transferred design. Press again for **5-10 seconds** at the same temperature and pressure.This final press helps to embed the design further into the fabric fibers, increases its wash durability, and can give it a more matte, professional finish, removing any slight sheen that might remain.## Tips for DTF Transfer Success### Heat Press vs. Household IronWhile a household iron can technically apply some transfers, it’s highly discouraged for DTF. Irons lack the consistent heat distribution and uniform pressure that a heat press provides. This often leads to patchy adhesion, cracking, and poor durability. Invest in a heat press for the best results!### Fabric CompatibilityDTF transfers are incredibly versatile. They work beautifully on: * 100% Cotton * 100% Polyester * Cotton/Polyester Blends * Tri-Blends * Denim * Canvas * And many more!Always do a test press on a scrap piece of fabric if you're unsure or working with a new material.### Caring for Your Finished GarmentTo ensure the longevity of your custom creation, follow these simple care instructions:1. Wash inside out.2. Use cold water.3. Choose a gentle cycle.4. Tumble dry on low heat or hang dry.5. Do *not* bleach.6. Do *not* iron directly on the design.If you need to iron the garment, turn it inside out.### Troubleshooting Common Issues* **Design Not Sticking/Peeling Up**: The transfer wasn't cool enough during the peel, or you had insufficient heat or pressure during the main press. Re-press and ensure it cools completely.* **Bubbling/Wrinkling**: Often due to moisture in the garment. Ensure you pre-press thoroughly.## Why Choose Flash Custom Transfers?At Flash Custom Transfers, we pride ourselves on providing top-tier DTF transfers that bring your designs to life with stunning clarity and vibrant colors. Our commitment to quality, combined with our exceptional customer service, makes us the ideal partner for all your custom apparel needs.Remember, we offer **FREE shipping on all orders with no minimum!** This means you can order one custom design or a large batch of [DTF Transfers](https://flashcustomtransfers.com/collections/dtf-transfers) without worrying about extra costs. We also offer [UVDTF Gang Sheets](https://flashcustomtransfers.com/collections/uvdtf-gang-sheets) for hard goods like tumblers and signs, giving you even more creative freedom.## Get Started on Your Custom Creations Today!Applying DTF transfers at home is a rewarding way to personalize apparel and express your creativity. With the right tools and this step-by-step guide, you're well on your way to creating professional-looking custom garments with ease.Ready to bring your unique ideas to life? Visit Flash Custom Transfers today to explore our options and order your high-quality, custom DTF transfers. We can't wait to see what you create! [Shop now at Flash Custom Transfers](https://flashcustomtransfers.com)