How to Press DTF Transfers on Cotton vs Polyester
Master the art of pressing DTF transfers on cotton and polyester fabrics. Learn optimal temperatures, times, and techniques for professional results.
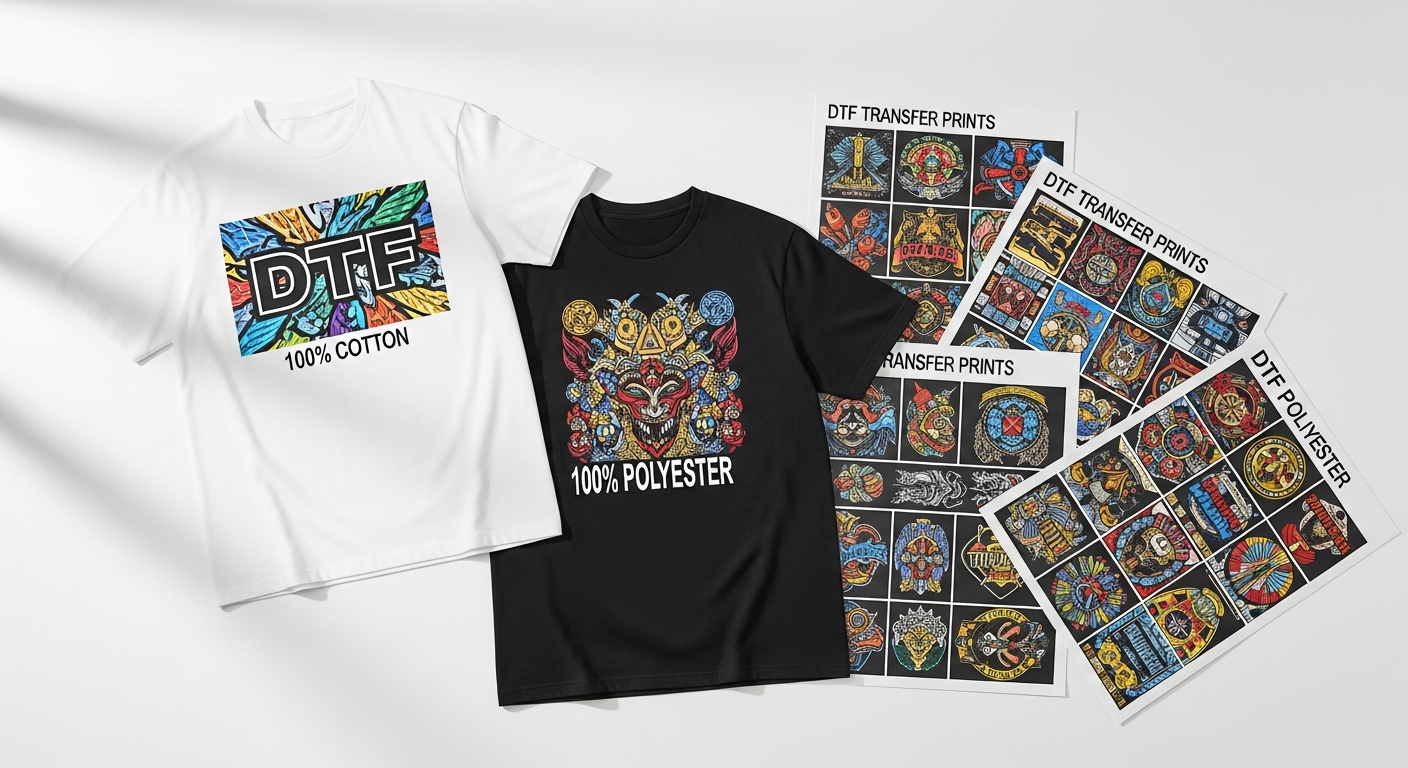
# How to Press DTF Transfers on Cotton vs PolyesterDiving into the world of custom apparel can be incredibly rewarding, especially with versatile technologies like Direct-to-Film (DTF) transfers. Whether you're a seasoned pro or just starting your journey, understanding the nuances of pressing DTF transfers on different fabrics is key to achieving professional-grade results. At Flash Custom Transfers, based right here in Cypress, TX, we're passionate about helping you succeed with our premium DTF transfers and expert advice.This guide will walk you through the specifics of heat pressing DTF transfers on the two most common fabric types: cotton and polyester, ensuring your custom designs look fantastic and last for years to come. We'll cover everything from optimal temperatures and times to crucial tips for avoiding common pitfalls. So, let's get pressing!## The Versatility of DTF TransfersDirect-to-Film (DTF) technology has revolutionized custom apparel decoration. Unlike traditional methods like screen printing or vinyl, DTF transfers can be applied to almost any fabric type – cotton, polyester, blends, nylon, and more – making them incredibly versatile. The transfers are vibrant, soft to the touch, and remarkably durable, standing up well to repeated washing.The core of DTF's appeal lies in its ability to produce intricate designs with a full spectrum of colors, all while maintaining a lightweight feel on the garment. This makes it an excellent choice for everything from t-shirts and hoodies to tote bags and workwear.## Essential Tools for DTF ApplicationBefore we delve into fabric-specific techniques, let's ensure you have the right tools on hand:### 1. Heat PressA reliable heat press is your most important tool. A commercial-grade clamshell or swing-away press offers consistent temperature and pressure, which are vital for proper adhesion. Avoid using a household iron, as it cannot provide the necessary even heat and pressure.### 2. Heat-Resistant Platen PadEnsure your heat press has a smooth, firm, heat-resistant platen pad. Uneven surfaces can lead to inconsistent application.### 3. Cover SheetA Teflon sheet, parchment paper, or kraft paper is essential to protect your heat press platen and the garment during the second press.### 4. Lint RollerAlways pre-roll your garment to remove any dust or lint that could interfere with the transfer's adhesion.### 5. Heat Gun (Optional but Recommended)A heat gun can be useful for quickly checking if a cold peel is truly cold, or for pre-shrinking polyester to mitigate dye migration in some cases.## General DTF Pressing Guidelines (Applies to All Fabrics)While specific settings vary, these steps form the foundation of successful DTF application:1. **Pre-Press Your Garment:** Place your garment on the heat press and press it for 5-10 seconds to remove moisture and wrinkles. This creates a smooth, dry surface for your transfer.2. **Position the Transfer:** Carefully place your [DTF Transfers](https://flashcustomtransfers.com/collections/dtf-transfers) design onto the garment. Use heat-resistant tape if needed to hold it securely in place, especially for larger designs.3. **Apply Heat and Pressure:** Close your heat press according to the recommended temperature, time, and pressure settings for your specific fabric type.4. **Allow to Cool (Cold Peel):** This is crucial for Flash Custom Transfers' products. Once the initial press is complete, *do not* attempt to peel the transfer immediately. Let the garment and transfer cool completely to room temperature. Rushing this step can lead to incomplete adhesion or a